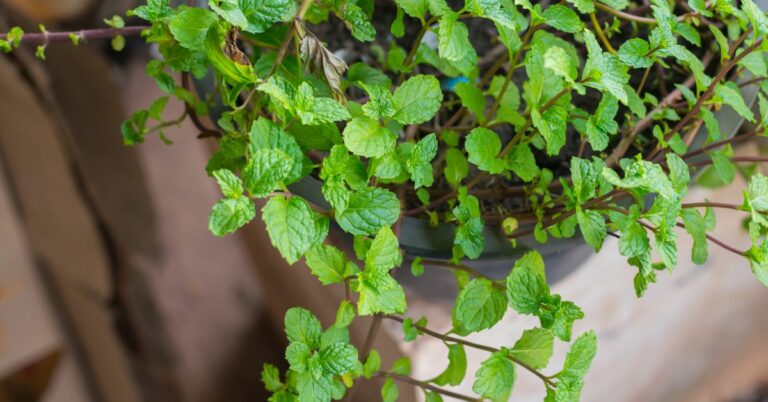
In many Indian households, particularly during the monsoon season, meals are often incomplete without a serving of the fiery yet soothing mint chutney that complements dishes like dhokla, pakoras, parathas, and vadas.
This fresh and tangy dip goes beyond mere flavour. In Indian kitchens, chutneys hold as much importance as the main course. Mint chutney is cherished for its digestive benefits and cooling properties. A happy stomach leads to a contented heart, as the saying goes.
However, the magic of mint extends beyond the dining table. Growing mint at home is equally rewarding. Moreover, homegrown mint boasts a superior taste, enhanced by the sense of accomplishment in nurturing it yourself.
Advertisement
Here’s a detailed guide to growing mint at home using a simple and beginner-friendly approach.
Step-by-Step guide to growing mint at home
Step 1: Select healthy cuttings
Visit a local market and choose three or four healthy mint cuttings. Look for vibrant green stems with no signs of wilting or damage. Ideally, choose stems that already have tiny root nubs visible.
Step 2: Prepare the containers
Get one small container and one which is slightly larger. The small container will hold the mint cuttings, and the larger one will contain water. Then, create a few small holes on top of the smaller container. Ensure the holes are just large enough to hold the mint cuttings upright.
Homegrown mint boasts a superior taste, enhanced by the sense of accomplishment in nurturing it yourself.
Step 3: Prepare cuttings
Advertisement
Strip the leaves from the bottom portion of each cutting, leaving around three inches of stem bare. Place the base of each cutting into the holes on the smaller container. Ensure the leaves at the top of the cuttings remain exposed to sunlight.
Step 4: Set up the water bath
Add water to the larger container until it is approximately two-thirds full. Then, place the small container with mint cuttings inside the larger water-filled one. This creates a mini hydroponic environment for the mint to root.
Step 5: Ensure proper growth conditions
Place the setup in a location that receives ample sunlight, but avoid direct, harsh afternoon sun, which can cause rapid evaporation and stress on young plants. The room temperature is ideal for mint growth.
Step 6: Maintain water quality
Advertisement
Replace the water in the larger container once a week. This maintains oxygenation and prevents stagnation that could harm root growth.
Mint should begin to flourish within a couple of weeks.
Step 7: Observe root growth
Within seven to eight days, you should begin to see new white roots forming on the mint cuttings. This indicates they are ready for planting into the soil.
Step 8: Prepare the planting area
Choose a pot about one foot wide, ensuring enough space for the mint’s rapid horizontal growth. Fill the pot with a well-drained mixture of soil, cocopeat, and compost. This ensures adequate nutrition and drainage.
Step 9: Transplant mint
Advertisement
By day eight of rooting, gently transplant the mint cuttings into the pot. Maintain a distance of about 15 centimetres between each cutting to allow for ample room to grow. Ensure the rooted portion is below the surface, but leave some stem above for new leaf growth.
Step 10: Care and maintenance
Water the mint daily to keep the soil consistently moist but not waterlogged. Keep leaves trimmed to encourage lateral spreading and more robust growth.
Step 11: Begin harvesting
Mint should begin to flourish within a couple of weeks. Remember to harvest no more than one-third of the plant at a time to encourage continued growth.
Enjoy the aroma and flavour of homegrown mint in your favourite dishes, teas, and dips!
Advertisement

